Sunday, December 6, 2015

Pie de Limón~ | Receta

Holaa~
Aquí les dejo una receta con muchos, muchos pasas pero que vale la pena. My abuela me la regaló cuando tenía 5 años y la preparo sola desde los 9 :) Asique si yo puedo, uds pueden~! :)!


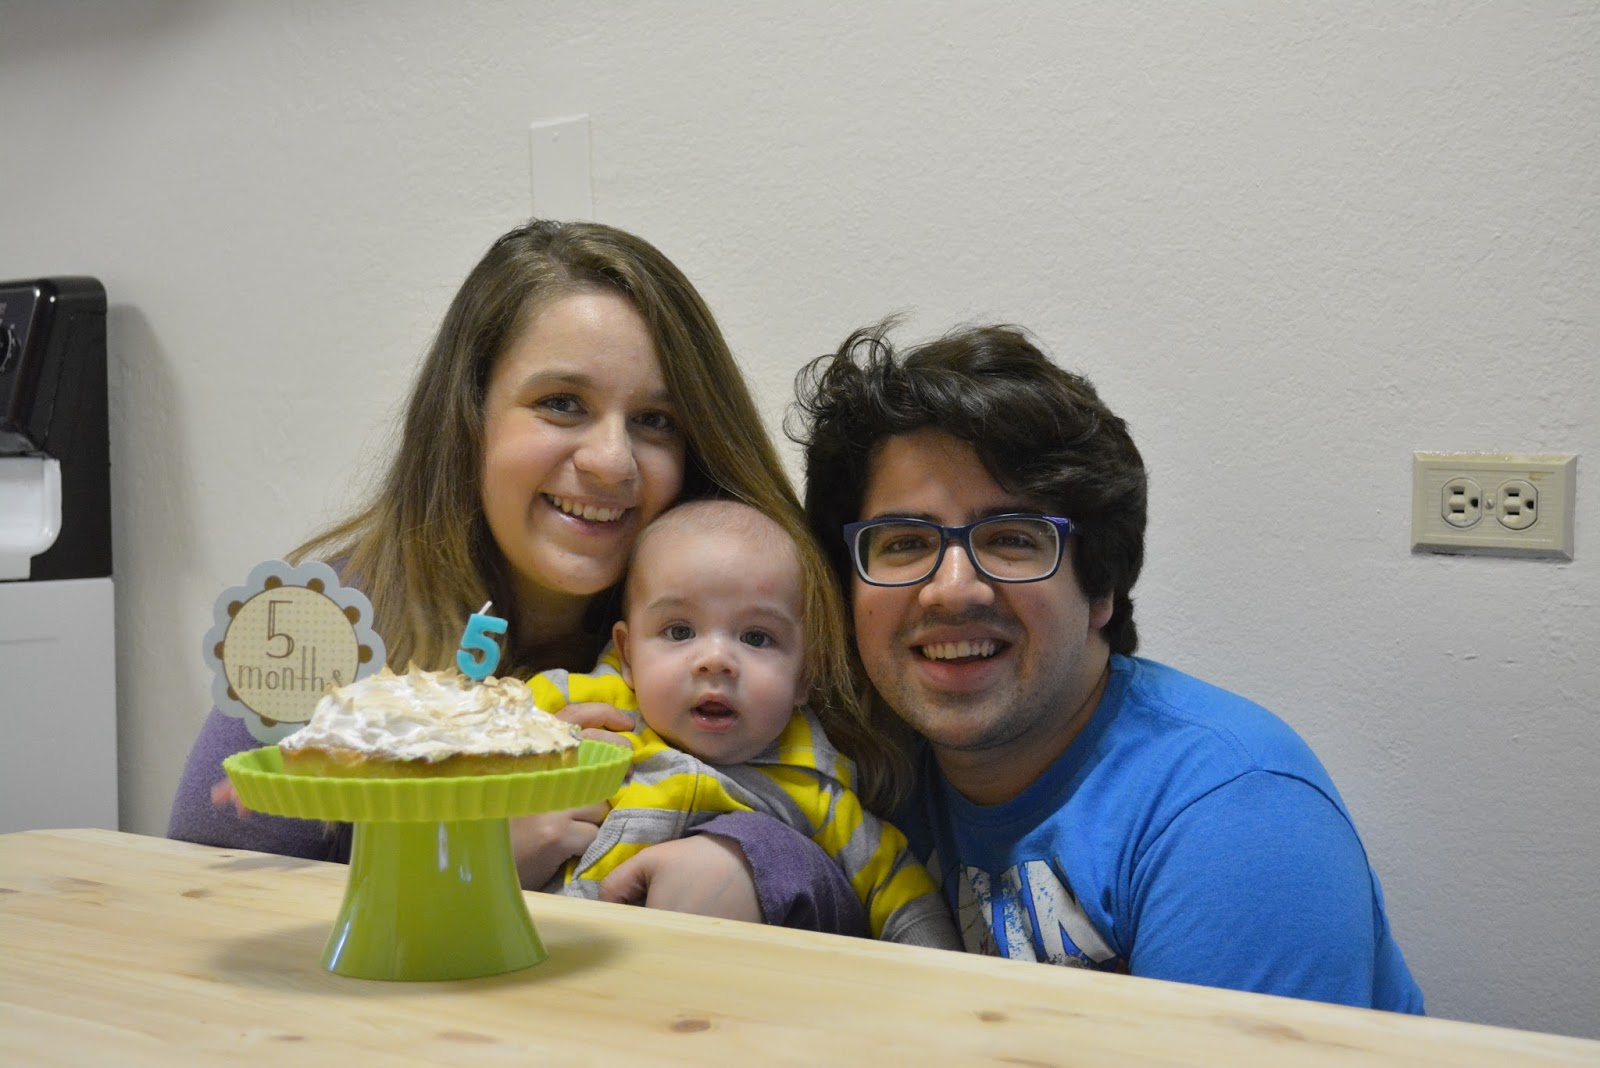
No pude encontrar una foto del pie entero que no tuviera un tobi al lado~ :)


Aquí esta la gran lista de ingredientes;

Para la masa;
50 grs azúcar en polvo
100 grs mantequilla (cortada en trozos)
150 grs harina sin polvos
1 huevo

Para la pastelera de limón;
1 lata de leche condensada
1 lata de agua
1 yema
1 cucharada de maicena
3-4 limones

Para el merengue italiano;
3 claras de huevo
270 grs azúcar
agua

Empecemos con la masa~ (Porque entre mas tiempo pase en el refrigerador, mejor)
1- En un bol o una mesa limpia, formar un volcán con harina y azúcar. poner la mantequilla en el medio del volcán.
2- Asegurate que tus manos estén frías y mezclar con la punta de los dedos y resfregando las palmas de las manos hasta obtener migas. Agregar el huevo y mezclar hasta obtener una masa pero no amasar por mucho timepo.
3- Formar una bola con la masa, cubrir con plásticoy llevar al refrigerador.


Sigamos con la pastelera~!
1- Abrir una lata de leche condensada y vertir en una olla. Llenar la misma lata con agua y vertir la mitad en la olla también. Mezclar y llevar a fuego medio.
2- En el resto de agua agregar la yema y la maicena. Revolver con una cuchara para disolver todo en el agua.
3- Cuando la leche en la olla se caliente, agregar la mezcla de la lata.


4- Esta es la parte donde hay que tener cuidado. No dejes la olla sola, ese es el momento donde se va a quemar :O! Revolver constantemente, teniendo cuidado especial de mover el fondo de la olla. Comenzará a espesarse de a poco, y cuando comienze a hacer burbujas está listo! Sacar del fuego y poner en un bol. Dejar enfriar.


A terminar la masa~!
1- Sacar la mas de refrigerador y estirar con un uslero, mientras más fría esté es más fácil cubrir el molde. Usa la técnica que más te guste para hacerlo, cortar el exceso en los bordes y marcar con un tenedor.
2- Hornear a 180ºC por 15 minutos o hasta que este ligueramente dorado.


EL sabor a limón de la pastelera de limón;
1- Una vez que la pastelera se enfríe, agregar de a poco el jugo de 3 o 4 limones (Dependiendo de que tanto sabor a limón te guste). Agragar un poco de jugo de limón y mezclar, agregar un poco más y mezclar, ect.
2- Rellenar la masa y dejar que cuaje.


Merengue, merengue, merengue;
1- Poner el azúcar en una olla y suficiente agua para cubrir, no más que eso, y llevar a fuego medio.
2- Llevar a punto de pelo. Cuando sumerjes una cuchara en el almíbar y cuando lo levantas puedes ver un pelo que cae de la cuchara. Es confuso, lo sé~ se hace más fácil con práctica. Si tienes un termometro, llevar a 116ºC (240ºF).

Puedes ver el pelo caer?

3- Esta parte es fácil por una mano y difícil por la otra~ Batir las claras a nieve (Fácil, cierto?) pero tienes que lograrlo al mismo tiempo que esté listo el almíbar. Uno no puede esperar al otro. (Difícil, si. También se pone más fácil con práctica)
4- Luego seguir batiendo las claras a velocidad alta mientras se agrega el almíbar en un flujo constante, lento y firme.


5- Seguir batiendo hasta que el merengue se enfríe.


El último paso~!
1- Cubrir la pastelera con el merengue.
2- Llevar al horno para dorar un poco.


Listo~!!

Lemon Pie~! | Recipe

Hi~
So here's a recipe with lots and lots of steps but worth it. My Grandma gave me this recipe when I was 5 and I've been doing it by myself since I was 9 :) I can do it, you can do it~! :)!

Couldn't find a picture of the whole pie that didn't have Tobi next to it~ :)


Here's the very long list of ingredients;

For the pastry;
50 grs powdered sugar
100 grs butter (cut in pieces)
150 grs all purpose flour
1 egg

For the lemon custard;
1 can of condensed milk
1 can of water
1 egg yolk
1 tbsp cornstarch
3-4 lemons

For the italian meringue;
3 egg whites
270 grs sugar
water

Let's start with the pastry (because the longer it stays in the refrigerator, the better)
1- In a bowl or a clean table form a volcano with swifted flour and sugar. Put butter on the hole of the volcano.
2- Make sure your hand are cold and mix with your fingertips and rubbing your palms together until you get crumbs. Add the egg and blend everything together but don't knead for too long
3- Make a ball with the dough and cover with plastic wrap. Put in the refrigirator.


Follow with the lemon custard
1- Open a can of condensed milk and put the content in a pot. Fill the same can with water and put half of it in the pot too. Mix together and put in medium-low heat.
2- To the rest of the water in the can add the egg yolk and cornstarch and stir with a spoon so everything disolves in the water.
3- When the condensed milk in the pot starts to heat up, add the mixture in the can.


4- Here's the part when you want to be really careful. Don't walk away from the stove, that's when it'll burn :O! Constantly stir the mixture, bieng careful of always moving what's on the bottom of the pot. It'll start to thicken slowly, and when it stars to make bubbles it's done! Take out from the heat and put it in a bowl. Let it cool down.


Let's finish the pastry!
1- Take dough from the refrigerator and roll out, the cooler it is the easier is to cover the pan. Use whatever technique you prefer to cover it, cut the excess and stab it with a fork.
2- Bake at 350ºF for 15 minutes or until lightly golden.


The lemon part of the lemon custard;
1- Once the custard has cooled down, add the juice of 3 or 4 lemons (depends how lemony you like it :)~) Be careful to add a bit and mix, then a bit more and mix, ect.
2- Fill the pastry with the custard and let it set for a bit


Meringue, meringue, meringue;
1- Put the sugar on a pot and add enough water to soak it, but not too much, and put on medium heat.
2- Watch for the point where if you deep a spoon in the sugar syrup and lift it up you can see a hair fly away from the spoon. I know, confusing~ It gets easier with practice. If you have a candy thermometer, cook until 240ºF (116ºC).

Can you see the sugar hair flying away?

3- This part is easy in a way and hard on the other~ Beat the egg whites until soft peaks (easy, see?) but you have to get to that point at the same time the sugar syrup reaches the point described in point 2. One can't wait for the other. (I know, hard. It also gets easier with practice).
4- Then keep beating the egg whites on high speed while you drizzle the syrup in a continous and steady flow.


5- Keep the mixer going until the meringue cools down.


The Last Step~!
1- Put the meringue on top of the custard filled pastry.
2- Put in the oven on broil until the meringue gets golden. If you have a torch, use it. It's easier ;)


Done~!!

Friday, November 20, 2015

Tobi y el árbol de Navidad~

Tobi conoció al arból de Navidad~! :D
Pero primero, una pequeña historia... nuestra primera Navidad despues de casarnos compranos un arbolito enanito (porque era lo mas barato pero tambien porque era muy lindoo y pequeño~) nunca lo cambiamos porque no teniamos una buena razón para hacerlo. Ahora, quiero uno más grande para que Tobi lo disfrute, pero hasta que mem decida cual comprar, decoré el arbolito enanito una vez más. A Tobi le encantó aunque no es mucho más alto que él cuando está sentado. No lo dejaba de tocar y lo recogió y botó al piso más de una vez~ jajajaja


Baby meets Christmas Tree~

Tobi met our Christmas tree~! :D 
So, here's a little story... our first christmas after we got married we got this teeny tiny tree (mainly for money issues but also because it was cute~) we never changed it, there was no real reason to. Now, I want a bigger tree so Tobi can enjoy it but whie I decide which one I want, I decorated the tiny tree one last time. Tobi really enjoyed it, it's so tiny it's not that much taller than him sitting down. He couldn't stop touching it and he actually knock it down a few times~ ahahha 


Tuesday, November 17, 2015

Tobi tiene 5 meses~!

Tobi tiene 5 meses!! Qué?! Cuándo?!

Está tan grande que la ropa de 6 meses ya le quedan justas pero está tan adorable~!
Aprendió a darse vuelta solito y ahora no para. Ahora cada vez que lo dejamos de espaldas se da vuelta inmediatamente.
Todavía odia los viajes en auto pero lo está soportando mejor. Se Está riendo mucho, y tiene la risita más linda. Se ríe cuando escucha los patos que viven aquí cerca.
Y en estos últimos días a dominado el arte de sentarse. Aún necesita apoyo pero se ha sentado por si solo un par de veces :)


Esta vez se ha quedado quieto para sacar las fotos pero sus manos fueron muy rápidas para mi y antes de poder deternelo ya tenía la mano en el merengue~ ajjajajaja


"Qué es esto?"


"Por qué es pagajoso?"

(Para la receta click aquí)


"Haz visto esta cosa pegajosa en mi mano?"


PS: Nuestro departamento anterior tenía mucha luz natural todo el día. Se podían sacar fotos hermosas ahí. Rápido y fácil. En este depratamento no hay luz. A ninguna hora del día. Absolutamente nada. Nada. Cero. Sacar fotos aquí es dificíl :( Extraño my departamento viejo......